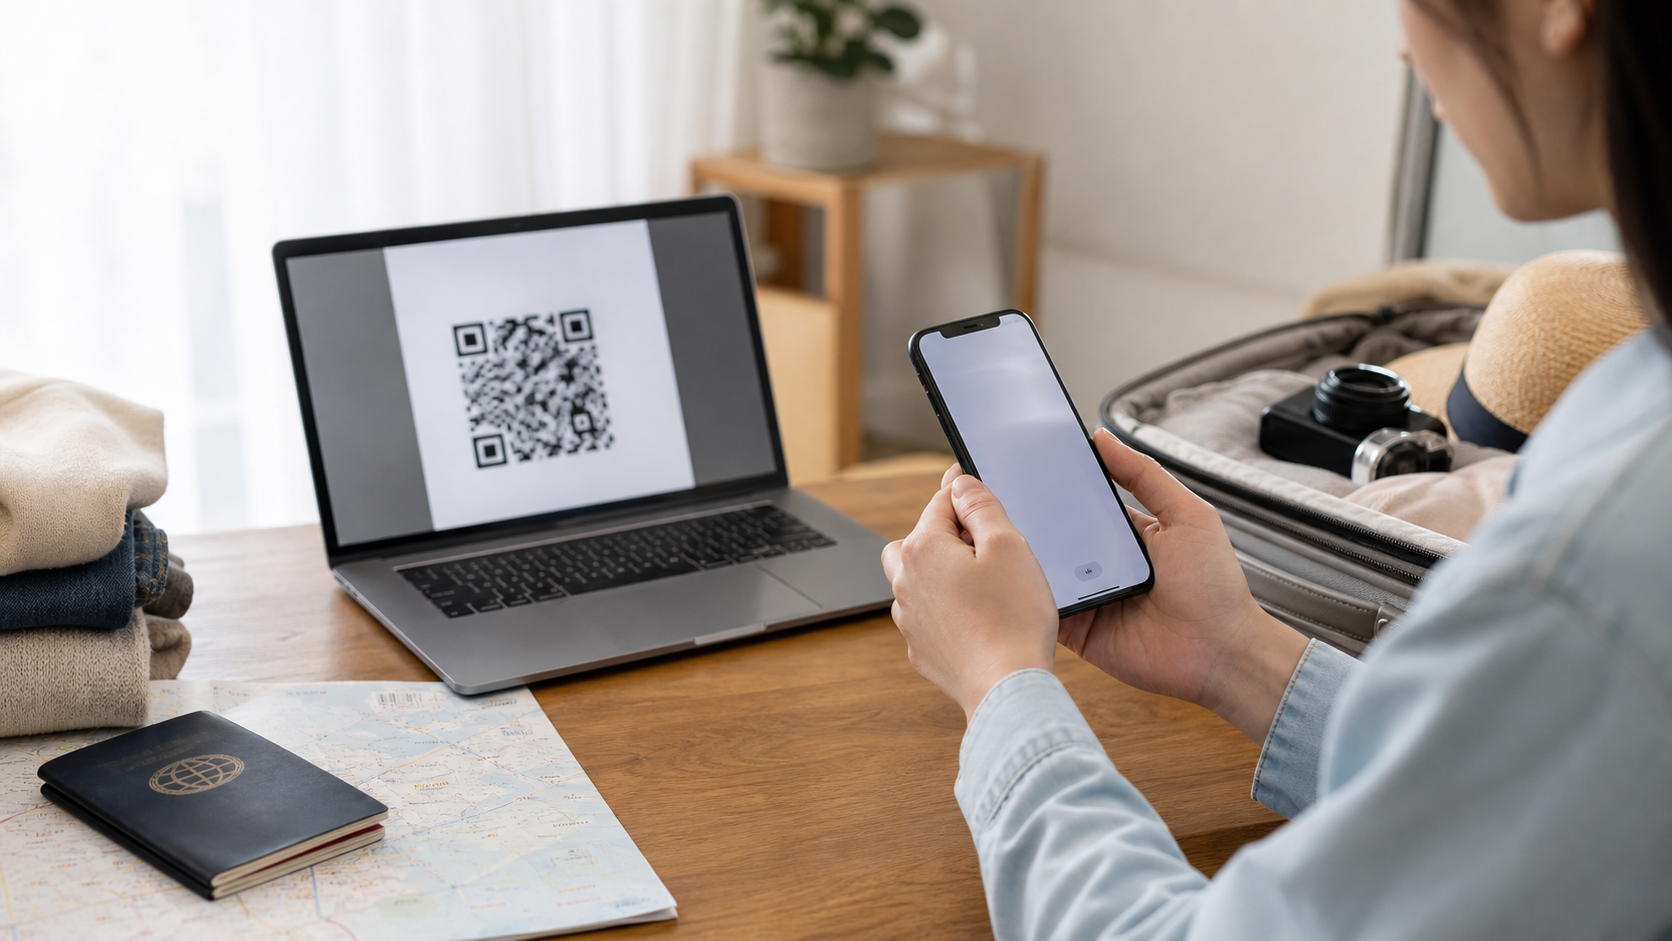
Check your iPhone and your trip first, so the QR Code doesn’t become a source of stress on the spot
First, check whether your model, sales region, and iOS version support eSIM; “iPhone” alone is not enough. If the phone is managed by a company, carrier-locked before, or already full of eSIM profiles, those issues also need to be ruled out first. If compatibility is still unclear, read Korea eSIM compatibility check before you pay, instead of discovering too late that the Add eSIM option is missing in Settings.
After purchase, save the QR Code, activation code, and order details; don’t leave them only in an email you might not be able to access. The safest approach is to take screenshots, store them offline, and note the rule that determines when the product starts counting. Some plans begin when you connect to the destination network, while others follow different terms; installation and activation are not the same thing.
Once compatibility is confirmed, check the activation terms of the named Korea plan directly.
Install the plan on Wi‑Fi, but don’t rush to make it replace your existing data line
On iPhone, the setup usually starts in Settings under Cellular, then Add eSIM; depending on the product, you’ll complete it with a QR Code, app, or manual details. Scanning requires a network connection, so home Wi‑Fi, a hotel, or an airport lounge before departure is better than standing by the gate. After adding it, name it “Korea Data” so you don’t guess wrong later when checking data usage or switching between lines.
After naming it, don’t switch every setting to the new line right away. If your original number needs to receive texts, you can keep it active; but cellular data should be assigned only to the Korea eSIM when you actually need it. Turn off data roaming on the original line, and if “Allow Cellular Data Switching” could make the phone fall back to the original line, that also isn’t suitable for a trip where costs matter. If your goal is to keep receiving Taiwanese verification codes, continue to how to split duties between your original number and eSIM.
After arrival, test one thing at a time
After landing and activating the Korea eSIM according to the product terms, first confirm that it is the cellular data source, then turn on data roaming only if the plan requires it. Next, test data with Maps; only after data works should you test whether your original number can receive SMS. This order matters because a Maps failure usually points to the eSIM data setup, while an SMS failure may be tied to the original number or bank rules. Those are separate issues and should not be changed all at once.
If the iPhone shows signal but pages won’t load, check the data line, roaming, Airplane Mode, and network selection first; don’t delete the eSIM immediately. Deleting it may force you to obtain the QR Code again. Follow the troubleshooting order for signal without data and keep reversible mistakes within reversible limits.
Once the setup steps are clear, compare them with the Korea plan’s date and data conditions.
Installing early doesn’t mean activating early, but it does mean saving backup details early
The moment people regret most is not spending ten minutes on setup; it’s realizing the QR Code exists only in an online inbox while airport Wi‑Fi is unstable. Before departure, save the details offline, confirm when the plan starts counting, and note the customer service entry point. If the plan allows pre-installation, finish it over your home network. If the terms say installation should happen after arrival, don’t scan early just to feel safer. Real peace of mind comes from following the terms, not from opening every switch ahead of time.
Reinstalling also should not be treated as ordinary troubleshooting. Some QR Codes have a limit on installation attempts, and removing the profile may not let you restore it directly. If problems come up, first screenshot the current Cellular settings, confirm the data source and the product description, then try Airplane Mode or selecting the network again. Only consider removal if the provider clearly instructs you to do so and you still have the information needed to reinstall.
Switch back to your original number after returning home, and that’s the last step
Before or after your return, switch cellular data back to your original number and confirm that the Korea eSIM is no longer the primary data line. If you’ll use it again on the next trip, you can keep it and name it clearly; if you want to delete it, make sure the order, QR Code, and any necessary records are already saved. This final step takes less than a minute, but it prevents you from leaving data on the wrong line after getting back to Taiwan and then wondering why the network is acting strangely.
iPhone menu locations change with iOS updates, so follow Apple’s current official guidance and the provider’s terms. What you really need to know is not the menu path by heart, but how to make data, SMS, and roaming each have one clear owner.
Don’t open “Add eSIM” for the first time at the terminal
The airport is the worst place to deal with setup, not because there is absolutely no network, but because you’re also checking boarding information, collecting luggage, finding transportation, and may need to keep switching devices if the QR Code is on another screen. The advantage of pre-trip installation is that you can pause at each step and confirm whether the iPhone recognizes the plan, whether the name is correct, and whether the original number and data line are separated. If the product requires connection only after arrival, you can still add it in advance without turning on data.
When scanning the QR Code, screen brightness, aspect ratio, or a blurry screenshot can all cause the scan to fail. Don’t keep retrying until the code becomes unreadable; first use the original file, another screen, or the manual details. After installation succeeds, keep the QR Code until the trip is over. Even if the product allows reinstallation, the original proof is still faster than contacting customer service later.
There are two situations where you should not rely on a simple restart
The first is when you add the eSIM and still have no Korea network at all. Check whether the product is already within its valid region, whether cellular data is assigned to it, and whether data roaming is turned on as required by the plan. The second is when signal appears but data won’t work. In that case, the data line, APN, or manual network selection should be checked first. Sorting the problem correctly is faster than toggling every setting one by one, and it also preserves the configuration that was already working.
If you are transiting en route, don’t assume failure just because you can’t see a Korea network yet. A destination plan may simply not connect in other countries; keep using the existing Wi‑Fi or terminal network, save the product information, and test again once you reach Korea. That pause is not procrastination—it prevents you from misreading the plan’s normal activation conditions as a malfunction.
These are the screens worth screenshotting and saving
Save the plan name, cellular data source, original number roaming switch, and order information. These four screens are enough to show what changed when troubleshooting is needed, and they also let family members or travel companions help you check. There’s no need to capture every setting; the key is to keep the answer to “which line is carrying data” on record. When iPhone updates its menu labels or someone helps you during the trip, this record reduces guesswork.
Once setup is done, only do a small-scale test: turn off Wi‑Fi, open Maps, send one message, and check the data line name. Don’t use this as a reason to watch long videos or download large files, because that doesn’t prove the connection will be better during the trip. You’re only confirming that data goes to the correct line; the remaining network quality still depends on local signal and the product terms.
How you check your itinerary determines how early each step should be done
For people arriving late at night, the most important thing is to add the plan and save the details before departure, because there won’t be time to search through emails on arrival. For travelers with older family members or children, clearly label the data line and the original number so helpers don’t switch the wrong one. For those who are transiting, confirm the activation location so you don’t reset things during the layover. These differences do not change the basic iPhone workflow, but they do determine which mistake is hardest to fix on the spot.
If you’re only staying briefly in Seoul and your hotel Wi‑Fi is strong, a small data package plus pre-trip setup is enough; if you have a performance, a Jeju road trip, or multiple people moving separately, first use travel stress choices to decide the data conditions, then come back and complete installation. The installation page does not decide how much data you should buy; it only makes sure the plan you buy can be used correctly when needed.
Finally, remember this: setup is successful not when you see a new name, but when you can still use data after turning off Wi‑Fi, while your original number has not unexpectedly started roaming. Once that test passes, leave the phone alone; frequent adjustments usually create more problems than keeping a verified configuration.
Keeping the product terms, setup screenshots, and meeting details in offline storage gives you room to breathe. Then even if the first part of the trip has briefly unstable signal, you won’t need to immediately buy again, delete the SIM, or turn on data roaming for your original number. Confirm the data source first, then handle the signal; that is often the fastest fix.
Finish this step first, then start the trip.
That way the journey is calmer and unexpected changes are easier to handle.
Confirm it before you leave, and you’ll avoid unnecessary last-minute decisions.
If you’ve already decided to install it on iPhone, go straight to the product page and don’t mistake a setup issue for a need to buy a larger plan.
Further reading
Send setup risk to the right next page
Sources and verification
- Apple Support: Add an eSIM on iPhone
- Activation, roaming, and the number of reinstallation attempts vary by product terms; use the named product page before payment.