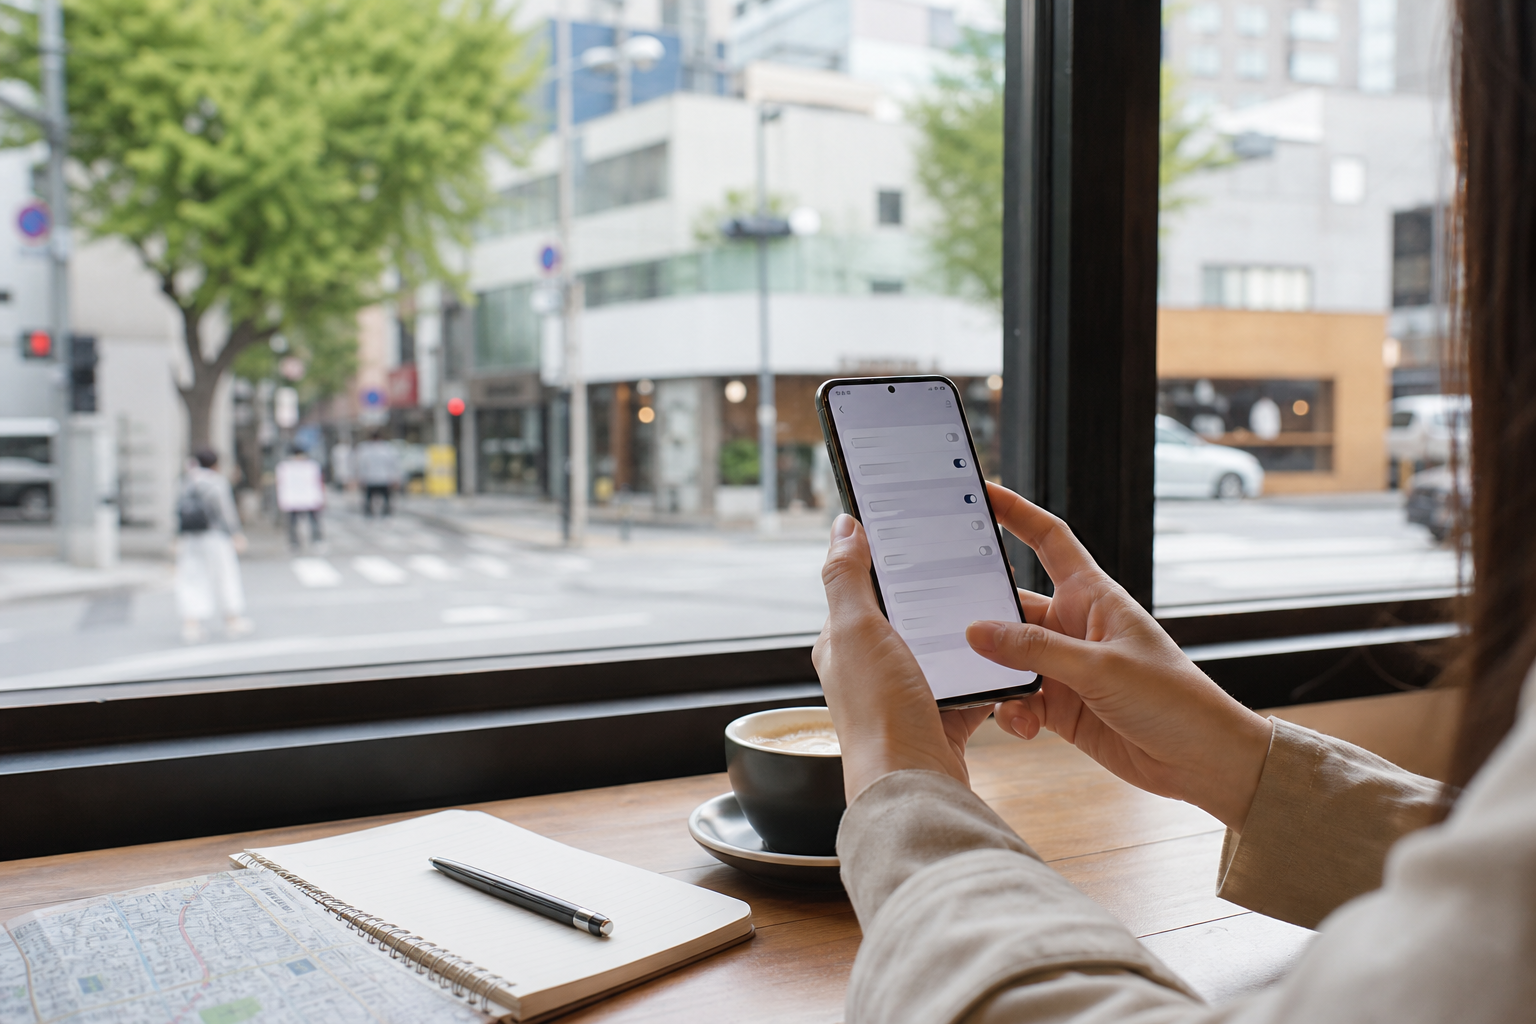
Bottom line first: if your settings include an entry such as “Add eSIM,” “Add mobile plan,” or “Download SIM,” and the phone is not locked to the original carrier, you can usually keep comparing Korea plans. If you cannot find that entry, stop buying for now and do not rely on repeated QR-code scans and luck. The people most likely to misjudge this are the ones who see support on a flagship in the same product line and then ignore the fact that they bought a different regional version, an older model, or a company-issued, installment-locked device.
Don’t decide from a product page’s single line of “Compatible with iPhone/Android”
eSIM is a function jointly provided by the phone and the carrier, not a universal Android standard. iPhone’s path is relatively consistent, but you still need to check the model and place of purchase. Android often places eSIM under SIM management, mobile network, network and internet, or connection settings. Different years and different country versions of the same brand can have different features. Screenshots online can only be a hint; they are not your verification result.
The most reliable approach is to search directly on the phone. Open the search bar in Settings and look for “eSIM,” “SIM,” “mobile network,” and “mobile plan” in order. If you see a function for adding, downloading, joining, or managing eSIM, save a screenshot. If you only see physical SIM, dual SIM, or network names, check the exact model first. The exact model is usually listed under “About phone” or device information in Settings, and it is more useful than the product series name.
After confirming that there is an entry for adding eSIM, check the activation rules for the named Korea products.
Four real-world conditions that can turn “supported” into unusable
First is the sales region. Some regional hardware or firmware versions do not open eSIM, and even if an international version spec sheet says it supports eSIM, you cannot add it later. Before traveling, do not ask only “Does this brand have eSIM?” Cross-check the settings entry and the official specs for your exact model.
Second is carrier locking. A phone that is still under contract or restricted by the original carrier may not be able to add another plan. That is not something a Korea eSIM provider can fix. If your phone shows SIM restrictions, a network lock, or asks for an unlock code, confirm with the original carrier before departure; do not wait until the airport to contact support.
Third is system version and device management. A system that has not been updated for too long may not show the full settings path, and company phones, school devices, or MDM-managed devices may block adding mobile plans. Ask the administrator first whether adding an eSIM is allowed so you do not mistake policy restrictions for a broken phone.
Fourth is how the SIM slot and phone number responsibilities are divided. Being able to install an eSIM does not mean you know how to set it up. If your Taiwan number needs to receive SMS, the travel eSIM should handle mobile data, while the original SIM usually keeps voice and SMS but keeps data roaming off. For this step, see how to split responsibilities between a Taiwan number and a Korea eSIM instead of guessing every switch in one article.
A ten-minute check sequence is more useful than reading ten recommendation lists
Start by connecting to stable Wi-Fi so you do not mistake a weak mobile signal for a setup failure. Then confirm the model and system version; find the eSIM entry in Settings; and check whether the phone is unlocked. Only after those three steps pass should you choose the valid number of days and data amount. Finally, save the order confirmation, QR code, and activation instructions somewhere you can read offline, because when installation goes wrong, the real problem is usually not the process itself but having no internet to look things up again.
If this is your first time using eSIM, it is best to add it while still in Taiwan, but do not casually switch your data default to the travel card. When to turn it on and whether data roaming should be enabled must follow that product’s activation terms. iPhone users can continue with iPhone Korea eSIM installation; Samsung users should start with SIM Manager and data source to avoid one wrong menu selection.
Once the entry point, unlock status, and number split are confirmed, compare the plan details that actually affect the trip.
When you can’t find the eSIM option, first tell whether it is missing or just hard to find
Do not factory reset the phone yet. Different systems place the entry at different levels, and searching in Settings is much faster than opening menu after menu. If the search returns nothing, use the exact model to check the manufacturer’s official support page. Do not use a secondhand marketplace, a forum title, or a seller’s一句“supports dual SIM” as a substitute for official information; dual SIM may simply mean two physical SIMs, which is completely different from eSIM.
If the official specs clearly do not support it, the easiest choice is not to buy first and refund later, but to use a physical SIM or a travel companion’s hotspot. If you are unsure whether you will need hotspot support for a tablet, laptop, or companion during the trip, read the practical limits of using hotspot with Korea eSIM first. Admitting that the phone is not suitable for a certain plan is less likely to waste time than forcing it to work on the road.
Once support is confirmed, the next question is how many days and how much data you actually need. People arriving late and leaving early often buy the wrong validity period because they order based on lodging nights alone. Put your flight schedule and activation timing back into Korea eSIM day counting. Passing compatibility does not mean you have chosen the right plan; those are two separate decisions.
After compatibility is no longer the blocker, use your trip length and data needs to decide which products to compare.
Turn the supported spec into something you can finish on arrival day
Compatibility checks are not technical nitpicking. They decide whether you can call a ride, open maps, find your accommodation, and reply to companions after landing. Adding the travel card, activating it, setting it as mobile data, and allowing roaming are four separate actions. Miss even one and the phone may show a carrier name but still refuse to load a webpage. Keeping these tasks for a place with Wi-Fi is how you move the risk away from the most stressful part of transit.
It is a good idea to give the two cards easy-to-recognize names, such as Taiwan SMS and Korea data. The name is not decoration; it helps prevent guessing by color or card order when the system pops up a data-source choice. Then confirm that the original number’s mobile data roaming stays off, and handle the travel eSIM according to the product instructions. That way, even if you restart your phone on the subway, you can quickly tell which card is responsible for going online.
Some users worry that adding the eSIM early will start the validity period too soon. There is no universal answer: some plans start when installed, some when connecting to the destination network, and some count from the first data connection. Do not follow someone else’s experience just because you heard it; use the terms on the purchase page and order confirmation. Travelers crossing midnight, arriving at dawn, or possibly connecting in a transit country should read the timing rules carefully first.
Different travel styles need different minimum standards
For a first-time solo trip to Seoul, what matters most is stable access to maps, transportation, and communication; a clear setup path matters more than chasing the biggest data allowance. When traveling with older family members or children, if only one phone is handling navigation, it is best for another companion to know the data card name and where to check it, but do not let two people change settings at random at the same time. If you are splitting up for shopping or need to share hotspot with a tablet, first check whether the plan allows sharing and whether the battery can handle it.
For people who need to receive Taiwan SMS, bank verification codes, or company calls, looking only at the words “dual SIM” is not enough. The Taiwan number may need to stay online while data is handed over to the Korea eSIM. If the original SIM automatically turns on data roaming, the bill risk is often greater than buying the wrong few GB. Separating data from voice and SMS responsibilities is more reliable than constantly switching airplane mode on and off.
If the phone itself does not support eSIM, choose an alternative early. The advantage of a physical SIM is that compatibility is easier to understand, but you must replace the card and keep track of the original. A Wi-Fi router lets multiple devices go online, but it needs pickup and return, charging, and companion coordination. None of these is always better; the point is to place the tool against the part of the trip most likely to fail. Do not sacrifice the backup you actually need just for the convenience that eSIM appears to offer.
Leave the final check for right before departure
The day before departure, reopen Settings to confirm the eSIM is still listed, confirm that the original number’s data roaming is off, and save the QR code, order, and support channels somewhere you can read offline. If the phone is about to update its system, it is not a good idea to run a major update one hour before boarding; leave enough time for it to finish and then check again. Luggage, passport, and boarding pass all get a second check, and your network settings deserve the same treatment.
If you have no service after arriving in Korea, first check whether airplane mode is off, whether the travel card is activated, and whether mobile data is set to the travel card, then confirm data roaming and APN according to the product instructions. Do not reset all network settings at once, or it will be hard to know which step caused the problem. If the phone shows a carrier signal but no data, go directly to the troubleshooting order for signal but no internet. If you cannot find eSIM at all, return to this article’s model and lock checks.
A truly useful compatibility check does not feel like extra work after it is done; it means you do not have to hunt for answers when you get off at Incheon, Gimpo, or Busan. Confirm the entry point, confirm the unlock status, confirm the division of responsibilities; only then does the rest of the comparison matter.
More to read
After confirming compatibility, the next step is not to reread the spec sheet
Sources and verification