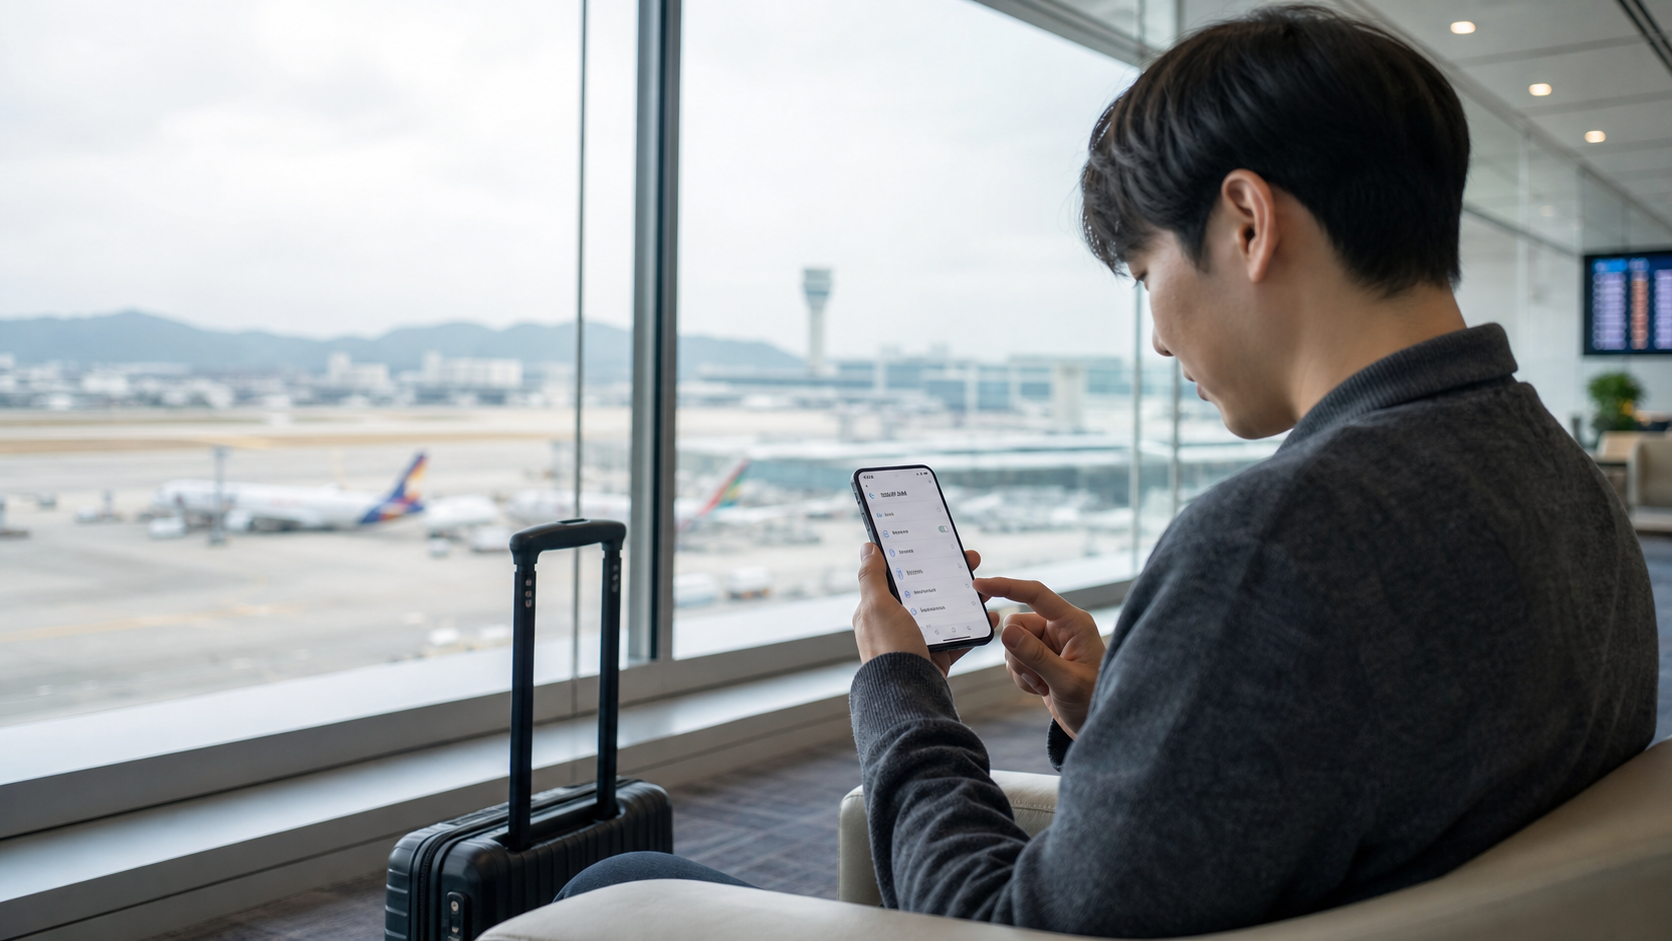
Before you add it, check your Galaxy model and SIM slot support—don’t rely on the brand name on the back
Galaxy phones in the same series may support different eSIM features depending on where they were sold; company-managed devices, carrier locks, or older system versions can also affect whether the add option appears. Start by checking in Settings whether SIM Manager and the eSIM add entry are available, then review Korea eSIM compatibility check. Without that foundation, even a very complete product page cannot make the phone support a feature it doesn’t have.
Save the QR code, order number, and product terms somewhere you can access on Wi‑Fi. Don’t treat adding the plan, activating it after arrival, and starting the validity period as the same thing; some products allow pre-trip installation, while others only begin under destination network conditions. Reading the rules first and then proceeding is less error-prone than turning everything on at the airport terminal.
Once you’ve confirmed the phone is compatible, check the activation conditions for the Korea data plan directly.
In SIM Manager, the goal is not to turn on both lines
After a successful install, open SIM Manager and assign the Korea eSIM as the mobile data line. If your original number needs to receive bank or airline text messages, you can keep calls and SMS enabled on that line, but data roaming must be turned off. This split is better for people who need OTPs than fully disabling the original SIM, and it’s easier to control than letting both lines act as data sources.
On Galaxy, the “data switching” option or a similar setting may have a different name depending on the One UI version. If it would automatically fall back to the original SIM when the Korea eSIM signal is weak, that is not a good option for someone who wants to avoid roaming data charges. Turn off automatic switching first so the data source stays fixed. If you’re not sure how much of the original number should remain active, see dual-SIM data and SMS roles first.
APN doesn’t need to be changed every time; only handle it when the product explicitly requires it
Some Korea eSIMs automatically load the APN after installation; others list the name and fields in the product instructions. If there’s no requirement, entering it manually can create errors. If you arrive and see signal but no data, first confirm that mobile data points to the Korea eSIM and that data roaming matches the terms, then check whether the provider specifies an APN. That is more reliable than guessing and typing in random network settings just because you see “no internet.”
Also, don’t treat the signal bars at the top of the phone as proof that setup is complete. Turn off Wi‑Fi, open a map, or send a message to test it. If it still doesn’t work, follow the troubleshooting order in signal but no data. Keep your current settings and the QR code for now—don’t delete the eSIM right away.
Once the data source is decided, confirm the validity period and data conditions on the Korea product page.
Different trip styles should avoid different setup mistakes
For travelers arriving late at night, the priority is to install the eSIM in advance and save the QR code and setup screenshots. For people driving themselves or going to concerts, the priority is making sure the data line won’t automatically switch back to the original number. For people who need bank OTPs, test how the original SIM receives messages before departure. Don’t assume every Galaxy setup guide should lead to the same switch positions just because you’ve seen one—your settings should protect the period on this trip when you cannot afford to lose connectivity.
When traveling with family, give each SIM a clear name and explain which line should not be used for data. This is not an unnecessary step: the easiest time to accidentally change the default line is when someone borrows your phone to look up an address or asks a family member to read a message. If the whole group will share internet, first read whether hotspot sharing works for companions, so the one phone with data is not also the only device receiving important notifications.
When you get home, switch the data default back to complete the setup
Before or after returning, switch mobile data back to your original number and make sure the Korea eSIM is no longer handling data. If it stays in the phone, keep the name and order record; if you want to delete it, first make sure you won’t need to reinstall it or check anything later. If your phone suddenly cannot connect after returning home, it’s usually not because the eSIM is broken—it’s because the data source is still set to the travel line. Checking in the same SIM Manager keeps you from randomly changing everything again.
The best setup outcome is not having every menu turned on, but having data, SMS, and roaming each assigned clearly. Once you’ve made that decision, go back to the pre-purchase check for the plan dates and data allowance, instead of using the product name as a substitute for setup confirmation.
Your pre-trip setup should leave proof you can check later
After setting it up at home, take screenshots of the default data line in SIM Manager, the original SIM’s roaming switch, and the new SIM name. The point is not to archive every menu; it’s to be able to tell, if the network is wrong after arrival, whether the settings were changed or the product simply hasn’t activated yet. Before departure, you can also save offline map areas, hotel addresses, and meeting points. These backups don’t replace the eSIM, but they keep you from making the wrong setting changes because of a brief network delay.
Samsung’s interface changes by system and model, so the path in online articles does not need to be copied exactly. What you really need to find are the entries for SIM management, mobile network, data roaming, and access point names. If you can’t find a certain option, it doesn’t mean the phone is broken; check Samsung’s official support for your model first, then look at the provider’s information. Judging by names and functions is more reliable than forcing yourself to find an identical screen.
Treat APN as a conditional step, not a standard installation step
If the provider doesn’t ask for an APN, Galaxy’s automatic connection does not need extra changes. Only move to this step when the product page clearly provides an APN name, or when data still won’t connect after you’ve confirmed the data line and roaming settings. Before entering it, compare the letters, case, and fields carefully, and don’t copy settings from unknown sources. If the network still doesn’t work after you change it, keep the screen and contact the provider; that is far better than repeatedly adding multiple APNs.
If data suddenly slows down during the trip, don’t reset the APN first. It may be usage, location, crowds, or the plan’s speed terms; start with the order for checking slow data. Setting problems and network-quality problems need different solutions. Mixing them together only makes a usable data plan harder to track.
Do one test with the fewest possible settings, then leave the phone in a stable state
Turn off Wi‑Fi, confirm the Korea eSIM is the data line, and open maps and a browser. Then check that the original number can still receive the messages you need without using data. Once those three things are working, there’s no need to keep adding more automatic features for every possible situation. The most reliable travel phone is not the one with the most options; it’s the one where every switch has a clear purpose and you know how to switch it back after you return home.
If you still can’t decide, list the single most important need for this trip: navigation after a late arrival, keeping in touch with family, or not missing a bank message. That answer will tell you whether to read the hotspot, dual-SIM, or OTP page first—you don’t need every function to become a burden at once.
Plan the setup before the trip, instead of making the trip adapt to the phone
For a short stay in central Seoul with a daily return to the hotel, you can leave yourself room by testing in advance and relying on hotel Wi‑Fi. For a Jeju self-drive trip, late-night arrival, or concert night, you should pay more attention to whether the data line stays fixed and whether offline maps are already downloaded. This is not because one city is inherently harder to connect in; it’s because the time available to stop and fix settings is different. The less time you can afford to stop, the less you should depend on automatic switching.
When traveling with a group, don’t make the person who knows Galaxy settings the group’s only data source. Everyone should at least know the hotel address, meeting point, and whether they personally have basic data access. If you’re using a hotspot, the holder’s battery and location become shared risks. Saying that dependency out loud first is more useful than blaming someone on the spot for forgetting to turn on sharing.
On the way home, confirm that mobile data has switched back to your Taiwan number, turn the travel eSIM off or keep it, and check the original SIM’s roaming status. That wrap-up gives your dual-SIM setup a clear ending point. A truly good setup is not one that never goes wrong; it’s one where, if something goes wrong, you know which SIM, which switch, and which term to check first.
Before departure, write this down: the Korea eSIM handles data, and the original number is kept only for necessary contact. As long as that rule isn’t broken by automatic switching, the setup is already mostly done.
Once the setup path is clear, go straight to the named Korea product pages instead of letting Galaxy menus complicate plan selection.
Once this division is clear, you can focus on getting around, meeting up, and following the itinerary when you actually need the internet, instead of wondering which SIM the phone is using.
Once setup is complete, the trip can truly begin.
Further reading
Send the next setup question to the right page
Sources and verification
- Samsung Taiwan: eSIM guide
- Galaxy menu names, supported features, and provider APN requirements vary by model and system; refer to the official device and product information.