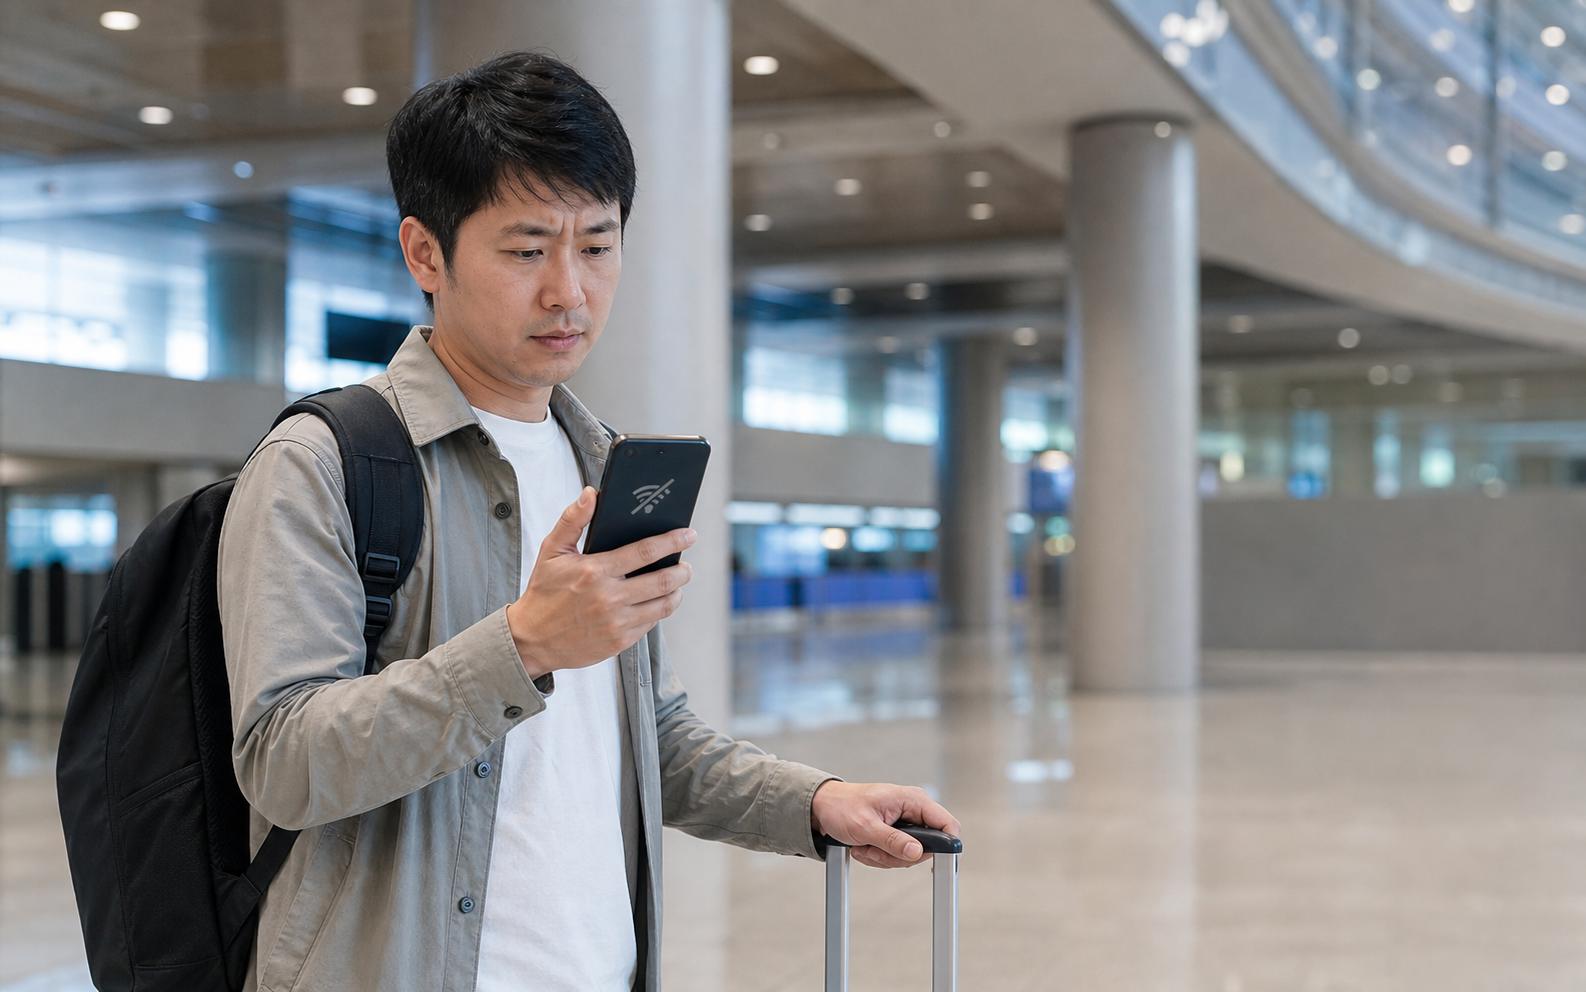
After arriving at Incheon, Gimpo, or Busan, the easiest mistake is to treat “no signal” as a broken plan. In reality, the screen usually narrows the problem quite a bit: if your phone already shows a Korean carrier name and 4G/5G but pages will not load, go to the no-data troubleshooting guide for signal but no internet. This article handles the earlier stage — when the phone has not yet registered on a usable mobile network. If you mix those two problems up, the most common outcome is deleting an eSIM that was still fine, without getting any signal in return.
First turn off Wi-Fi and wait ten seconds to see whether any carrier name appears in the status bar. Then go into your phone settings; do not rush into the purchase app. You need to note three things: whether the travel eSIM is still there, whether the switch is enabled, and whether the error says “No Service,” “Emergency Calls Only,” or simply no data icon. Those details determine the next step and also help customer support understand the issue when you have no internet and are relying on airport Wi-Fi. Do not share a full QR code screenshot in a public group, because it may be a one-time installation credential.
If you have not paid yet, first confirm the product’s Korea coverage and activation method; if you already have an order, follow the activation rules on the order page.
Start with the SIM list — not the home screen — to see whether it really installed
Whether an eSIM is “installed” is not about whether you scanned a QR code. It is about whether the line appears in Cellular, SIM Manager, or network settings. On iPhone, the new plan usually appears under Cellular in Settings; on Android, the path changes by brand, but it is usually under Network & Internet, Connections, or a SIM management tool. Apple’s setup documentation also lists ways to add an eSIM using a QR code, a carrier app link, or manual details, which shows that each provider’s screen does not have to look exactly the same.
Once you find the travel eSIM, first make sure its switch is on. Right after landing, many people only turn off airplane mode and forget they disabled the new line earlier in Taiwan to save battery; others chose “activate later” during setup and assumed it would take over automatically. If the eSIM exists but is turned off, switch it on and wait about a minute for the phone to search for local partner networks. This is a simple step, but it is more precise than restarting the phone: it changes only the line you want to test.
If the travel eSIM is not in the list at all, check the order email or the provider app to see whether it says “installed” or still awaiting installation. Do not scan the code again immediately. The QR code for some travel eSIMs can only be downloaded once; what happens after the same credentials have been downloaded, partially downloaded, or deleted may differ. At that point, keep the payment number, phone model, and the last error screen you saw, then contact the provider to confirm whether they can resend it. If you want to reduce this risk before you leave, check how to confirm phone compatibility first, rather than relying on whether a friend with the same brand got it working.
When the signal bars disappear, the most useful thing is to make the phone search for a network again
If the travel eSIM is on but still shows no service, the next question is whether the phone completed network registration. First make sure airplane mode is truly off, then turn it on briefly for about ten seconds and turn it back off. This forces the phone to search for available networks again and makes the result easier to see than endlessly toggling settings with Wi-Fi on at the same time. Do not keep tapping switches during the wait; each search can take one or two minutes, especially when you are moving from the airport into the city, going through a tunnel on a train, or just stepping out of the plane.
If there is still no signal, go into the travel eSIM’s Network Selection or Carrier settings. Start with automatic selection; if automatic does not find anything, only then try the partner networks listed on the order page or support page for a manual test. Do not pick any Korean carrier name just because it appears: some networks show up briefly but will not accept your plan’s registration. If a manual selection is rejected, go back to automatic mode and note the network name and time. That information is for customer support to identify the partner network, not for you to try every option one by one at the gate.
Also check whether the phone’s date and time are set automatically. The wrong time will not necessarily make signal bars disappear, but it can confuse app logins, payment verification, and plan expiry checks. If your phone was fully powered off during the flight, it is more reliable to connect to airport Wi-Fi first, correct the time, retrieve your order details, and then test mobile data than to push through beside the baggage belt. If you need to separate the activation sequence step by step first, read the iPhone Korea eSIM setup flow or the common check points across different Android menus.
If you were already worried about transit, late-night arrival, or splitting up from your travel companion, compare plans by how well they handle a lost-connection situation — not just by data amount.
Not every “Korea eSIM” starts service the moment you scan it
Some products can be added to your phone in Taiwan first and only begin working after you arrive in Korea and connect to a partner network; others count from installation, activation, or the first connection. These rules depend on the exact product and cannot be replaced by experience with another card. If you scan the QR code in Taiwan and see temporary no service, do not rush to call it a failure. If you are already in Korea, the line is on, and there is still no usable network for an extended period, then the focus should move to registration, the device, or the provider’s status.
There is another commonly overlooked situation: the phone may support eSIM, but region restrictions, carrier locking, or dual-SIM usage settings can still limit it. That is why “my friend with the same model could install it” is not proof. iPhone eSIM support and activation conditions depend on the model and service provider; Android can also vary by brand interface, system version, and sales region. If you still have time before departure, compare the items to check before paying with your phone’s actual SIM settings screen. That is much cheaper than scrambling for a replacement card after you land.
Once you have confirmed that the eSIM exists, the line is on, airplane mode is off, and automatic network selection has already been tried, but there is still no service at all, stop changing settings on your own. Prepare a support packet with the minimum useful details: order number, phone model, system version, eSIM display name, city or airport, when you arrived in Korea, and whether manual network selection was rejected. Do not post your IMEI, full QR code, or payment card details publicly. With that minimum information, support can check whether the plan has been activated, whether there is a regional issue, or whether the installation data needs to be reissued.
Once you have Wi-Fi, keep a backup path ready instead of rushing to buy a second card
Taking a pause to check things may feel slow, but it keeps a single recoverable setting mistake from turning into two cards, two validity periods, and two support threads that all need sorting out at once. At the beginning of a trip, the less information you have, the less sense it makes to replace judgment with another payment.
When airport Wi-Fi, a travel companion’s hotspot, or your accommodation network gives you access again, the most impulsive move is to buy another eSIM immediately. A second card can sometimes be the right backup, but if you do not know whether the first one is just turned off or is still counting down its validity, it can also leave you with two similar names in the phone and make it even harder to tell which one is actually in use. First screenshot the status of the first card, confirm the provider’s reply, and only then decide whether to switch cards.
If what worries you is getting cut off after a concert, splitting up while shopping, or arriving at the hotel late, the real backup is more than a product link: save your accommodation address offline before departure, agree on a meeting point with your travel companion, keep your original number available for essential texts, and download transit maps so you still have a way forward if any card fails. If you need to keep your Taiwan number active, next read how dual-SIM data sources should be divided; if your concern is running out of data rather than losing signal, go back to the daily usage estimate and do not use the same solution for two different risks.
Before you switch plans, first make sure the product terms, validity period, and your current itinerary actually line up; that helps avoid buying a second card at the airport that still will not work.
Next, keep the connection-loss risk from this trip under control
Which page should you read now?
- Signal is there but pages will not load: move to the data connection troubleshooting guide
- Not purchased yet: first confirm your phone version and eSIM compatibility
- Narrow down a suitable plan based on trip pressure
- Can your travel companion treat one network as backup?
- How to choose between eSIM, physical SIM, and Wi-Fi router
Sources and checks
- Apple Support: Set up an eSIM on iPhone
- Google Pixel Help: Mobile data, SIM, and roaming settings
- The activation timing, partner networks, reinstallation, and support handling rules for eSIMs vary by exact product; this page does not replace the order terms with generic steps.