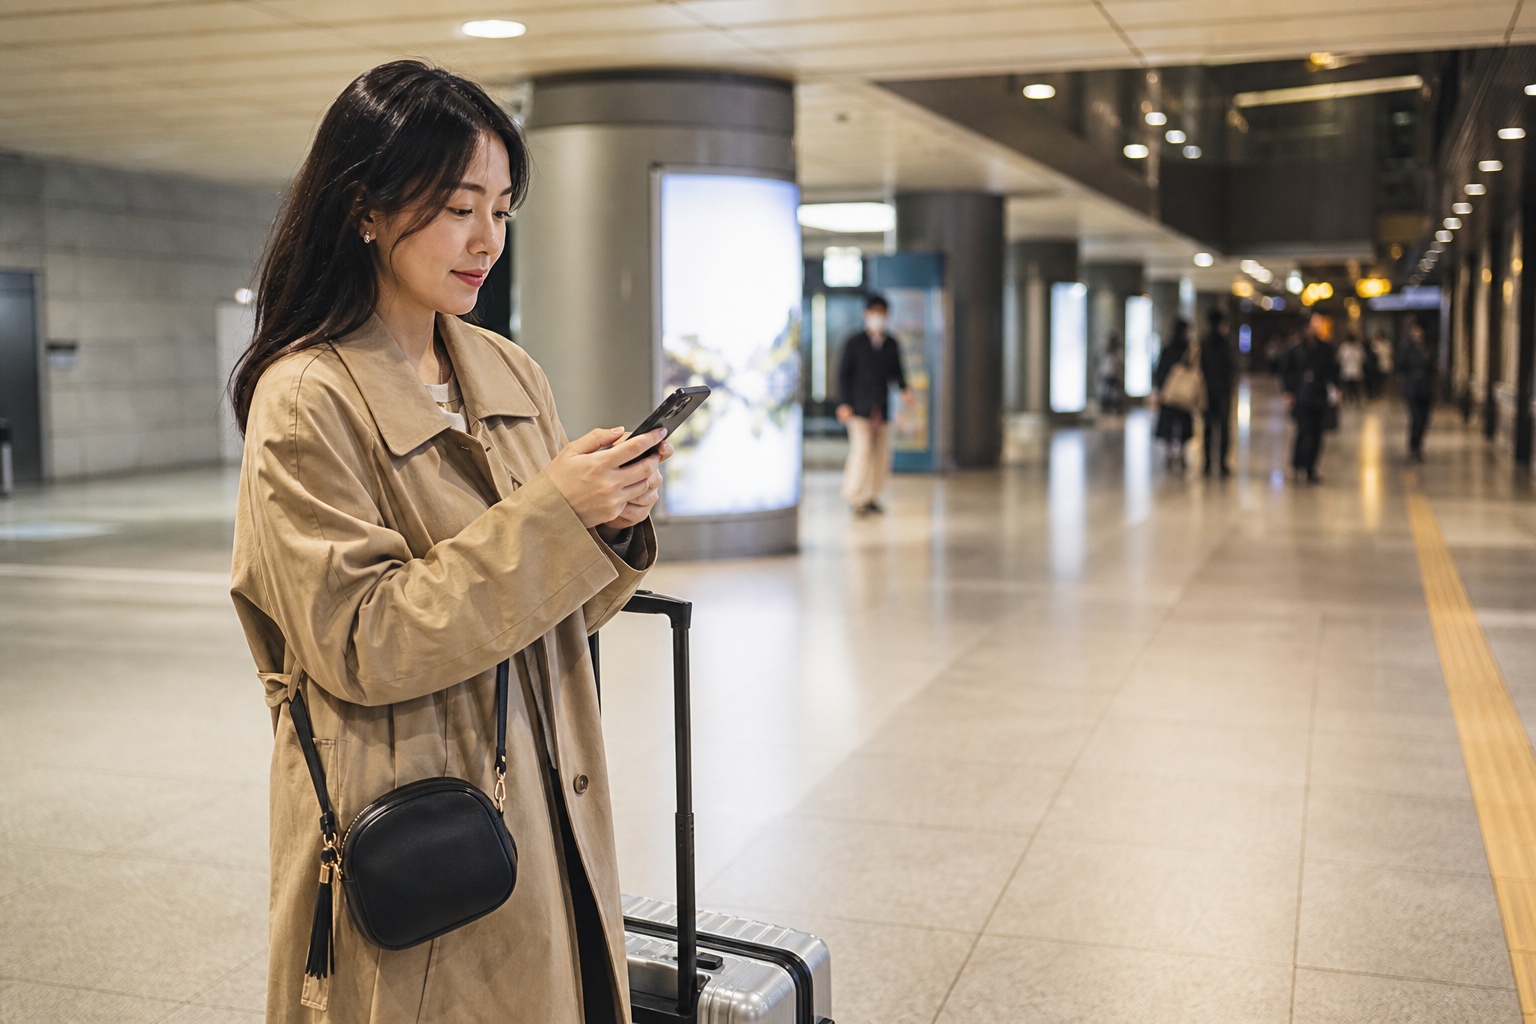
If you’re traveling alone in Korea, the appeal of eSIM is obvious: no kiosk visit, directions available as soon as you land, and your original number can still receive text messages. But on a solo trip, there’s no second phone from a companion to borrow, and no one else to hold onto your booking details. If your phone runs out of power, is lost, breaks, or your eSIM temporarily stops working, all the convenience concentrated in one device disappears at once. So this article is not about “how many GB are best for solo travel.” It starts with deciding which information should never live only on your phone.
Start with a hard check: if your phone vanished right now, could you still get back to your bed tonight?
Cover your phone and answer four questions: Where are the full name and Korean address of your accommodation? Do you have a copy of your passport and booking details somewhere other than your phone? Does someone at home know which area you’re in today? Could you finish the last leg of the trip with cash or another card? If you can’t answer even two of them, the problem is not the eSIM signal — it’s that too much of the trip depends on a single device.
You do not need to print a whole folder of documents. A small paper card in your wallet with the accommodation name, Korean address, main contact, and insurance support method is enough; keep a separate digital copy somewhere you can access from another device. Passport copies and full identification documents should be protected properly, and never shared publicly or left in any album anyone can open. The goal is not to create anxiety, but to make sure that in a police station, hotel front desk, or transport service desk, you can clearly state your next destination.
The first night matters most. If you arrive late, save your transport and check-in details in advance, then read when to activate your eSIM for a late-night flight arrival. Even daytime arrivals should switch off Wi‑Fi and test mobile data while airport Wi‑Fi is still available, instead of discovering too late that nothing connects after you leave the terminal.
Once you’ve confirmed phone compatibility and when billing starts, choose a plan that covers both arrival and departure.
Check-ins shouldn’t become an all-day live feed — leave only the milestones that matter
Your family does not need to know your location every minute, but they should know when silence becomes unusual. Before departure, agree on two or three checkpoints, such as arrival at your accommodation, arrival in another city, or getting back to your room at night. If plans change suddenly, send one short update with the area and expected return time. That uses less battery than constant live location sharing and avoids the situation where your phone is fine but you’re simply too busy traveling to reply, leaving others unable to tell whether something is wrong.
Sharing your accommodation and a rough itinerary is enough; there is no need to spread your passport, credit card, or every real-time location into a group chat. If you do use location sharing, confirm who it’s for and when it will stop. Solo-travel safety is not about handing over all your privacy; it’s about giving a trusted person enough clues: roughly where you are, when you’ll appear again, and how long a delay should pass before action is taken.
If your original number is needed for bank OTPs, airline notices, or accommodation messages, keep the line active while turning off data roaming on that number, and let travel eSIM handle mobile data. For the exact setup, follow dual-SIM settings for a Taiwan number and Korea eSIM. Receiving text messages and using the original SIM for data are two different things — don’t let the original SIM take over data just because you need OTPs.
When your battery drops to 20%, the trip should automatically switch modes
On a solo trip, your phone is your map, translator, camera, ticket, payment verification, and contact tool, so battery drain is more than an inconvenience. Set a clear threshold: below 20%, stop video, photo backups, and aimless searching, and keep only the map, transport, and messages needed to get back to your accommodation. Keep your power bank somewhere easy to reach, and do not bury the cable at the bottom of your luggage.
When changing routes in a subway station or on the street, move to a bright place, a place with seating, or a location with staff before you do anything. Do not walk while staring at navigation, especially near traffic, stairs, and platforms. When the signal is weak, repeatedly reloading maps drains both battery and attention; open the saved address first, finish the next leg, and only then troubleshoot in a safe place.
If you’re used to sharing your phone hotspot with a tablet or laptop, solo travel still means thinking about your main phone’s battery and heat. Save work and heavy uploads for accommodation Wi‑Fi; if you must work while moving, read battery and plan limits for hotspot sharing first so your only navigation device doesn’t run out before you make it back.
Once you know whether you’ll use a hotspot, move between cities, or return late at night, compare data amounts.
If the internet disappears completely, get back to a place where you can ask for help — don’t keep resetting while you walk
Signal can change temporarily in subway underground spaces, inside buildings, or in crowded areas. Move first to a lobby, near an exit, or somewhere with staff, then switch on airplane mode and confirm that the travel eSIM is still the mobile data source. No service and signal without data are two different problems: for the first, check line status and network registration; for the second, check data path and APN. Don’t delete an eSIM in a panic if you may not be able to scan it again.
If the problem still can’t be solved right away, use the network at a trusted official service desk, your hotel, or a large store instead of connecting to open Wi‑Fi with a suspicious name. Be especially careful when logging into accounts or handling financial information. The first thing you need to restore is not social media — it’s your accommodation address, transport, and one message saying you’re okay.
If your phone is lost, your eSIM may not move to a new phone unchanged
Transfer and reinstallation rules for travel eSIMs vary by provider and product, so never assume you can simply scan the same code again on any device. Before departure, save your order number, support entry point, and purchase email, but do not leave the QR code publicly visible where others can easily see it. If your phone is lost, deal with personal safety, remote account locking, and deactivating your original number first, then contact the provider to confirm whether the travel eSIM can be reissued or transferred.
Payment and login should also not depend only on the authenticator stored on the lost phone. Confirm recovery methods for important accounts in advance and store backup codes separately and securely; don’t test them for the first time during the trip. These steps go beyond eSIM itself, but they determine whether you can regain access to bookings, flights, and financial accounts after losing your phone.
No Korean phone number does not mean solo travel stops
Most travel eSIMs are data-focused and may not provide a Korean number that can receive calls. Standard maps, messaging apps, online bookings, and translation do not require a local number, but some restaurant queues, delivery services, ride-hailing apps, or event contacts may ask for a Korean phone number. Don’t assume that “internet access” means every service will work; list the services you’ll actually use on this trip first, then read the limits of a Korean eSIM phone number.
If a service truly requires a local number, prepare an alternative in advance, such as asking your accommodation to help contact them, switching to a platform that accepts overseas numbers, or choosing a plan that doesn’t rely on phone verification. On a solo trip, the most dangerous thing is not using one fewer app — it’s arriving on site only to find that the transport or waiting-list method you planned cannot even start. Excluding functions you can’t use ahead of time is usually simpler than buying a more complicated product just to cover every possible case.
Keep a small reserve of cash and a physical card separate as well. Mobile payment is convenient, but if your phone is dead, your account is locked, or the network goes down, being able to pay for one ride and one meal changes your options completely. Do not keep all your cash, credit cards, passport, and phone in the same easy-to-lose bag; spreading them out is not about preventing every accident, but about avoiding one mistake that wipes out every option at once.
For the final stretch back to your accommodation at night, it’s better to skip one sight than one fallback route
The easiest thing to underestimate on a solo trip is fatigue. After a full day of decisions, you may misread an exit, head the wrong way, or decide to walk a darker route at the last minute. Before you go, save the nearest subway exit to your accommodation, the main street, and any landmark that has staff around the clock. At night, prioritize transport you can clearly understand on your own. Internet can give you options, but it cannot make an unfamiliar road automatically safe.
If dinner, a show, or an activity runs late, contact your accommodation or family first, then decide how to get back. Don’t let “it’s only one more stop” leave your battery, transport schedule, and safety margin all at zero. Concertgoers can also look at eSIM planning for crowds after the show and if you get separated; the same principle applies to ordinary night plans: secure the way out and the way to contact someone before you deal with sharing photos.
Traveling alone does not mean you need two phones or the largest data package. What you really need is for your information not to exist in only one place, for someone to know when to wait for you, for there to be a clear way to reduce usage when battery runs low, and for you to be able to say where you’re going tonight even after losing your phone. Once those preparations are in place, a Korea eSIM that fits your trip can absolutely handle your main data needs; it just should not be mistaken for the only lifeline for the entire journey.
After your offline address, check-in updates, and lost-phone backup are ready, do one final plan check.
Before you leave, break down the other single-point risks in solo travel one by one
Before departure, confirm your device and help options with official sources
- Apple Support: Use eSIM on iPhone
- Samsung Taiwan: Galaxy eSIM and support information
- Korea Tourism Organization: travel assistance and emergency contact information
- eSIM transfer, reinstallation, hotspot, and start-date rules vary by exact product; before departure, follow the phone maker, the named product page, your insurance, and official travel information.